How to Make Sea Moss: A Step-by-Step Guide
Table of Contents
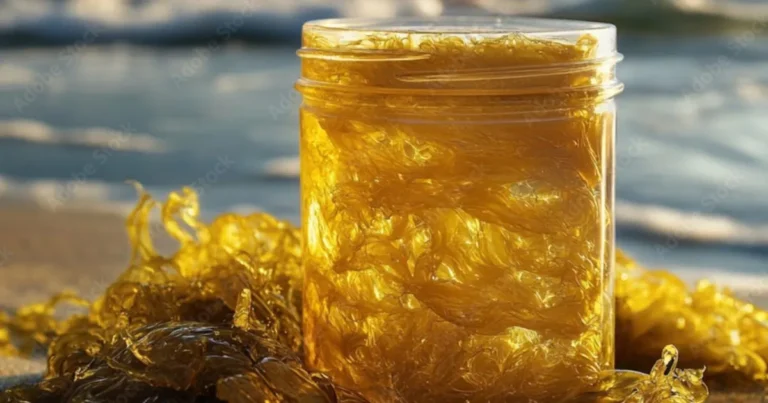
Making sea moss gel at home lets you enjoy its natural nutrients without additives. This guide shows how to make sea moss into a versatile gel. It’s perfect for smoothies, juices, or meals. Whether you’re new or experienced, you’ll learn safe methods and tools needed.
Homemade sea moss avoids preservatives found in store-bought options. This guide explains how to make sea moss https://www.mosspure.net/how-to-guides-recipes/gel using simple steps. From cleaning raw moss to storing the final product, you’ll gain confidence in preparing it correctly. This ensures you get the most health benefits.
Key Takeaways
- Learn how to make sea moss gel using basic kitchen tools
- Understand the health benefits of fresh, homemade sea moss
- Avoid common mistakes in preparation and storage
- Discover easy ways to add sea moss to your diet
- Follow clear steps to create smooth, nutrient-rich gel
Understanding Sea Moss: Origins and Health Benefits
Sea moss, a vibrant red algae found in coastal regions worldwide, has been a hidden gem in wellness circles for centuries. Before you begin to make sea moss gel, knowing its roots and benefits can deepen your appreciation for this superfood.
Nutritional Profile and Superfood Properties
This seaweed packs a powerful punch of nutrients. It’s rich in iodine, potassium, and 14 essential amino acids. Key vitamins like vitamin K and iron support immunity and energy. Its high fiber content aids digestion, while trace minerals like zinc boost skin health. These elements make it a cornerstone for those learning to make sea moss gel at home.
- Iodine: Supports thyroid function
- Antioxidants: Combat cellular damage
- Omega-3s: Promote heart health
Historical and Cultural Significance
“The sea’s gifts nourish both body and spirit.”
For centuries, coastal communities like those in Ireland and Jamaica have valued sea moss for its resilience and nourishing qualities. In Irish folklore, it was a famine-era survival food, while Caribbean cultures used it in remedies. Today, this legacy lives on as modern health enthusiasts adapt traditional methods to make sea moss gel for contemporary diets.
By understanding its journey from ancient traditions to your kitchen, you gain context for why properly make sea moss gel can align with both heritage and wellness goals.
Gathering Quality Sea Moss and Supplies
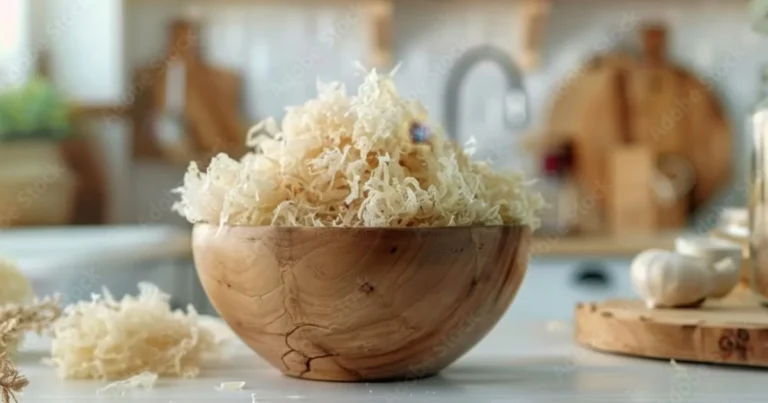
Start by finding the best raw materials for how to prepare sea moss for consumption. Look for vibrant, clean seaweed. It should not be slimy or have bad smells. Brands like Caribbean Superfoods or Wild harvested vendors offer top quality.
Don’t choose dried moss that’s brittle or has color changes.
Having the right tools makes preparation easier:
- Stainless steel colander for rinsing
- BPA-free plastic containers for storage
- A high-speed blender for gel processing
Use non-porous cutting boards to avoid contamination during cleaning.
“Quality starts at harvest—always verify supplier certifications for sustainability and purity.” — Marine Botanicals Research Institute
Get a mesh strainer to remove sand before soaking. Glass jars with tight seals are best for soaking. They let you see the moss expand fully. Good supplies are key for how to prepare sea moss for consumption safely and well.
DIY Guide: How to Make Sea Moss at Home
Starting your sea moss journey begins with gathering the right materials. Each item listed here is crucial for turning your seamoss gel ingredients into a top-notch final product. Here’s what you need to succeed.
Essential Tools and Ingredients
- Tools: A glass jar with lid, fine-mesh strainer, measuring cups, and a stainless steel mixing bowl.
- Ingredients: Fresh or dried sea moss, filtered water, and optional sweeteners like honey or lemon.
| Tool | Use |
|---|---|
| Stainless steel bowl | Avoids chemical reactions |
| Mesh strainer | Removes debris effectively |
Initial Preparations for Success
Start by sterilizing all tools with hot, soapy water. Rinse them well to get rid of any residue. Make sure your workspace is clean and free of clutter.
When working with seamoss gel ingredients, check for sand or rocks. Soak dried moss in a bowl overnight to make it softer. This makes the next steps easier.
Keep your supplies organized and within reach. Use a cutting board to trim tough stems from fresh moss. Label containers clearly to avoid confusion. These steps help prevent contamination and save time.
Preparing Sea Moss for Consumption
To make sure your sea moss is safe and ready, proper preparation is crucial. Follow these steps to clean and prepare your moss. This will help you move forward with making sea moss gel.
Soaking and Rinsing Techniques
Begin by softening dried sea moss and removing impurities with these methods:
- Fill a stainless steel pot with cold water. Submerge the moss and let it soak for 2–4 hours, replacing the water every 30 minutes.
- Rinse under clean running water using a fine mesh strainer until the water runs clear.
- Repeat the soak-and-rinse process 2–3 times to eliminate all sand or salt residues.
Safe Handling and Cleaning Directions
Protect yourself and keep things clean with these practices:
- Wear food-safe gloves to shield hands from rough textures and potential contaminants.
- Use a dedicated colander or bowl to avoid cross-contamination with other kitchen items.
- Sanitize all tools with hot, soapy water before and after each step to prevent bacterial growth.
Properly prepared moss will have a translucent texture and no gritty feel. Discard any pieces that remain sandy after rinsing. This ensures the final gel is full of nutrients and safe for your recipes.
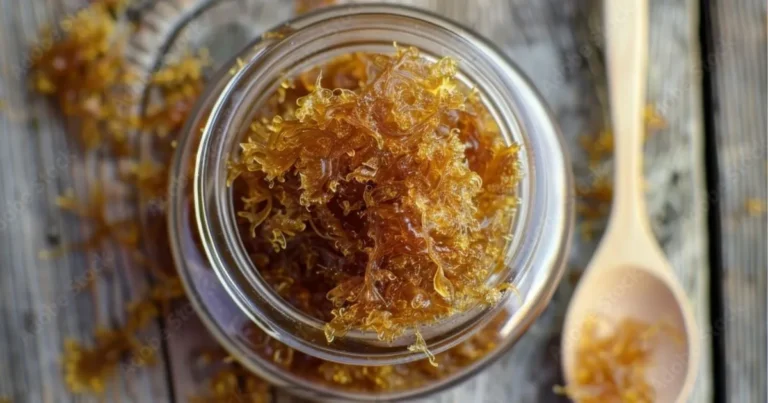
Sea Moss Gel Ingredients and Their Benefits
When you make sea moss gel, each ingredient plays a role. Start with raw sea moss, full of vitamins and minerals like potassium and iron. Water is essential for soaking and blending, making it smooth. Optional additives like lemon juice or honey add flavor and health benefits.
- Sea Moss: It’s packed with antioxidants and omega-3s, making it the heart of your gel’s nutrition.
- Lemon Juice: It sharpens the taste and acts as a natural preservative, keeping it fresh longer.
- Honey: It sweetens without refined sugars, adding antibacterial properties.
- Citric Acid: A safe preservative to keep it fresh.
Mixing these ingredients carefully balances health and use. For example, using honey instead of sugar keeps the gel’s nutrient-rich identity. You can adjust the mix to make it thicker for recipes or thinner for smoothies. Always check the ingredient purity to keep its natural benefits. The right mix makes your homemade gel both nourishing and versatile.
Troubleshooting Common Sea Moss Preparation Issues
Even with the best how to prepare sea moss for consumption methods, challenges can arise. Here’s how to address them quickly to avoid waste and ensure safety.
Identifying and Fixing Contamination
Contamination risks include mold or bacteria growth. Look for these signs:
- Foul odors like ammonia or rotting vegetation
- Discoloration such as black spots or fuzzy patches
- Slippery textures not present in fresh batches
If you notice these, discard the batch immediately. To prevent future issues:
- Sanitize all tools with vinegar or boiling water
- Use filtered water during soaking
- Store gel in airtight containers below 40°F (4°C)
Adjusting Techniques for Consistency
Unwanted textures? Try these fixes:
- Too thick? Extend soaking by 12-24 hours or blend with extra water
- Too runny? Strain through a finer cheesecloth or freeze in ice cube trays for portion control
- Grainy texture? Check for unprocessed plant matter and re-blend
Always use clean, sharp scissors to cut fresh sea moss to minimize debris. For persistent issues, start over with fresh seaweed to guarantee purity. Remember, proper how to prepare sea moss for consumption techniques prevent most problems before they start.
Tips for Storing and Preserving Sea Moss Gel
Keeping your seamoss gel ingredients fresh is key. Follow these steps to keep them good for longer:
- Use airtight containers: Store gel in glass jars or BPA-free plastic to block air and light.
- Refrigerate promptly: Keep sealed containers in the fridge at 34-40°F (1-4°C) for up to two weeks.
- Freeze for longer storage: Portion gel into ice cube trays, freeze, then transfer to freezer bags for 3+ months.
- Label dates: Note preparation dates on containers to track freshness.
Wash your hands and tools before touching the gel. When freezing, thaw cubes overnight in the fridge before use. Never leave gel at room temperature for more than two hours.
- Use clean utensils to avoid introducing bacteria.
- Discard gel with off smells, mold, or separation.
Check containers for leaks often. Properly stored seamoss gel ingredients stay thick and full of vitamins. For the best taste, use within two weeks fresh or three months frozen.
Creative Uses for Sea Moss in Smoothies and Recipes
Learn how do you make sea moss gel and then use it in meals. Its mild taste makes it great for both sweet and savory dishes.
Enhancing Smoothie Nutrition
Add a tablespoon of sea moss gel to your smoothies for extra nutrition. Here are some ideas:
- Green smoothies: Mix with spinach, banana, and almond milk for a creamy texture.
- Tropical blends: Combine with mango, pineapple, and coconut water for a vitamin-rich boost.
- Post-workout shakes: Stir into protein shakes with peanut butter and spinach for an immunity-boosting treat.
Sea moss’s gel thickens drinks without adding sugars. It’s ideal for healthy recipes.
Incorporating Sea Moss into Savory Meals
Try adding sea moss gel to savory dishes. Here are some ideas:
- Soups and stews: Enhance broth-based dishes with a dash of gel for extra thickness and minerals.
- Dressings: Blend gel into vinaigrettes for a subtle umami flavor in salads.
- Main dishes: Add to mashed potatoes or rice dishes for a hidden nutritional lift.
When cooking, the gel’s texture is almost undetectable. This lets you enjoy its benefits without changing the taste.
Expert Advice on How Do You Make Sea Moss at Home
Learning to make sea moss gel is all about detail and creativity. Seasoned experts share their best tips to improve your skills and try new tastes. Here’s how to make your homemade sea moss gel better:
Step-by-Step Pro Tips
Follow these expert recommendations to ensure quality:
- Soak dried moss in fresh water for 4-6 hours, changing water twice to remove sand.
- Blend soaked moss with a high-speed blender until smooth. Use 1:1 water ratio for even texture.
- Store gel in a glass jar. Consume within 7 days for peak freshness.
Innovative Recipe Variations
Turn your gel into different creations using this table:
| Recipe Type | Key Ingredients | How to Use |
|---|---|---|
| Tropical Boost Gel | Coconut water, mango chunks | Mix into breakfast bowls |
| Immunity Blend | Ginger, turmeric, lemon | Stir into warm drinks |
| Thickened Dessert Base | Chia seeds, honey | Layer in parfait cups |
Try new flavors while keeping the main steps for make sea moss gel. Change sweeteners to taste without losing nutrition. Always start with small batches when testing new combinations.
Conclusion
Learning how to prepare sea moss is key to getting its full benefits. The right steps, from cleaning to storing, keep it safe and tasty. Each step, like soaking and making gel, unlocks its nutrients and health perks.
By avoiding common mistakes, you get the best results every time. Sea moss is great for any diet because it’s so versatile. Use the guide’s tips to make your smoothies, soups, or meals better and keep them fresh.
Using these methods regularly makes sea moss a reliable part of your health routine. Start now to see its benefits for yourself, like more energy or new recipes to try.
FAQ
How do you make sea moss gel?
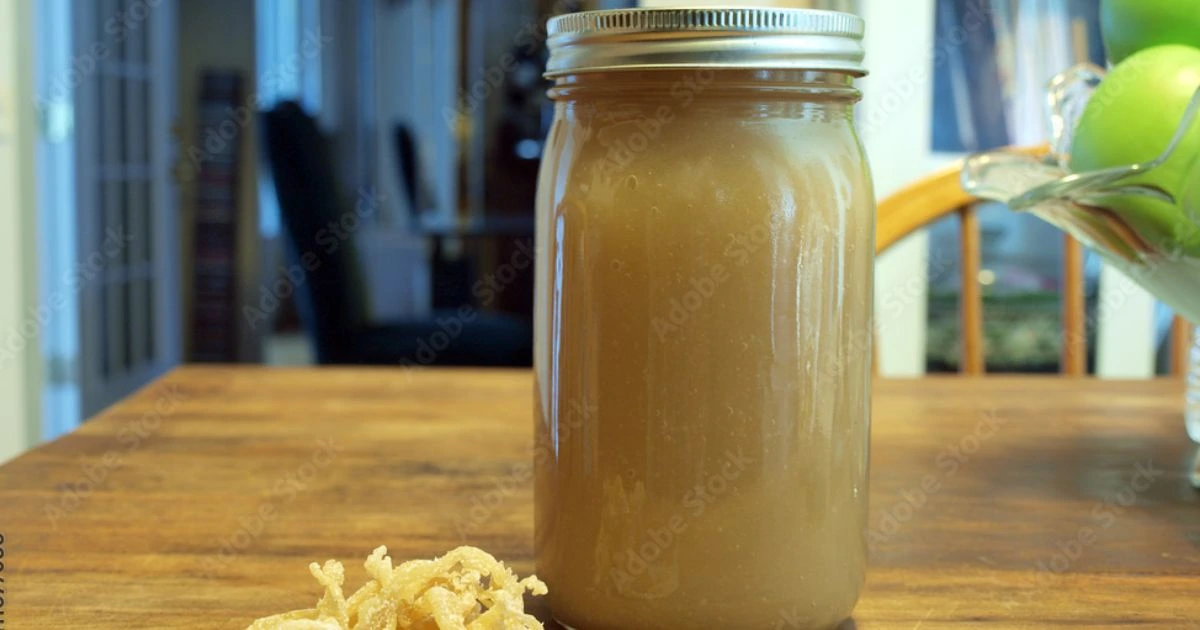
To make sea moss gel, start by rinsing your dry sea moss. This removes salt and debris. Then, soak it in water for 12 to 24 hours until it’s soft.
Drain the water, then blend the sea moss with fresh water until it’s smooth. Pour the mix into a container. Let it sit in the fridge, where it will thicken into a gel.
What ingredients do you need for making sea moss gel?
The main ingredients are sea moss and water. You can add vanilla extract, agave syrup, or other natural flavorings to enhance taste.
How do you prepare sea moss for consumption?
To prepare sea moss, soak and rinse it well. Rinse off any impurities before blending it into a gel. This makes it safe for your diet.
How do you know if your sea moss is of good quality?
Good sea moss is wildcrafted and has a vibrant color. It should smell fresh and have a natural ocean scent. Avoid dry, brittle sea moss for better nutrients.
Can you use sea moss in recipes besides smoothies?
Yes! Sea moss is versatile. Use it in savory dishes, desserts, or as a thickener in soups and sauces. It’s great in energy bars, oatmeal, or baked goods too.
How long can you store sea moss gel?
Sea moss gel can last up to 3 weeks in an airtight container in the fridge. Freeze it in ice cube trays for longer storage.
What health benefits does sea moss offer?
Sea moss is packed with minerals, vitamins, and antioxidants. It supports digestion, boosts the immune system, and may improve skin health. It also supports thyroid function due to iodine.
Are there any precautions when using sea moss?
Sea moss is generally safe, but use it in moderation. Some may experience digestive issues if they eat too much. Always check with a healthcare professional, especially if you have health conditions or are pregnant.